10-Implement Login Validation
I am a techie who has coded/developed/lead app development for almost 15 years. I had experience in developing back end systems,database applications,data warehouse applications. I had experience in following technologies - C#, ASP.NET,PYTHON,SQL,SQL SERVER,ORACLE,POSTGRES,AWS,AZURE
In the previous post we have implemented the login form ,however it is a dummy form as it will allow any creds to access the website. Since the structure is setup lets implement the login validation. We have already developed an api-gateway which can authenticate user creds and give us the token back. So lets connect to api from UI Login component and allow the user only if he is signed up user. For this purpose i had already added a user in backend with a username and password
Access to API
Since we didnt host the API yet i shall be running the API code on my machine and consuming the same from UI component. To run the API code we need to run two components
api-backend which primarily has the business logic of user management and user data management
api-gateway which consumes the services of api-backend and returns the response to the service.
To run the api-backend & api-gateway run the following command
python API-Backend/main.py
python API-Gateway/main.py
By running the above commands the services get started in the mentioned ports of the application code.
In API-Gateway/main.py we mentioned the port as 8080 so the API services will be available at localhost:8080
In API-Gateway/main.py we mentioned the port as 8081 so the API services will be available at localhost:8081
These api end points can be verified using the swagger url - http://localhost:8080/api-gateway/web,http://localhost:8080/api-backend
Login Auth API
For the login authentication we shall be using following end point
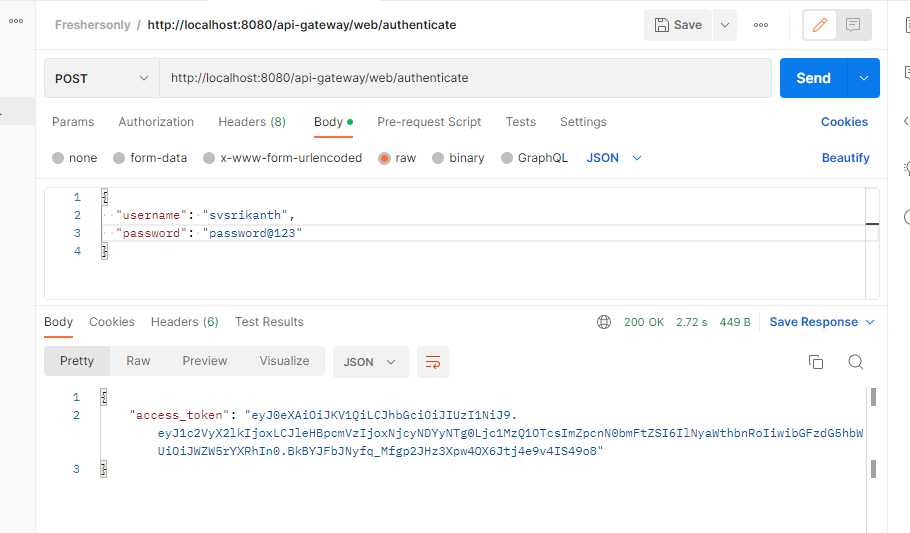
http://localhost:8080/api-gateway/web/authenticate
The payload for this end point will be as follows,which is straight forward
{
  "username": "string",
  "password": "string"
}
If we provide the right values it should provide a token with 200 response as shown below
If we provide an incorrect password following the response would be a 424 which is basically failure in handling dependency injection with a error message the password is incorrect

Login Implementation in UI Component
In order to consume an api end point from ReactJS we shall using axios library.If you would like to know more about axios please read the following documentation - https://axios-http.com
Now lets naviagate to the Login.jsx file which has the form and collects the input values username and password
We have already implmented an OnSubmit method in react-hook-form which will be called when the form is submitted. The code is as below as of now
 const onSubmit = (data) => {
    handleUserName(data["username"]);
    handleUserLoggedIn(true);
    navigate("/dashboard");
  };
As we see above we are taking the username from object data and setting the state fields of usernameand userLoggedIn using the handler methods. Then we are navigating to dashboard using navigate("/dashboard") method. Now at the top we shall make a call to authenication end point. If successful we shall set the state fields usernameand userLoggedIn. If not we shall redirect to Login url
Following are changes to the method
const onSubmit = (data) => {
axios.post(`${baseurl}/authenticate`, data)
.then((response) => {
if( response.status == 200 && response.statusText == 'OK')
{
handleUserName(data["username"]);
handleUserLoggedIn(true);
navigate("/dashboard");
}
})
.catch((error) => {
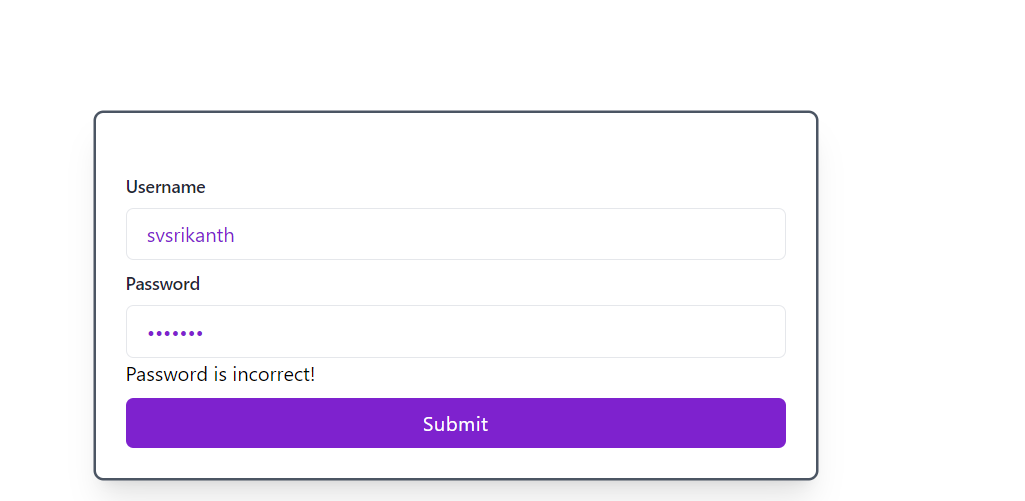
setError("password", { type:"manual",message:"Password is incorrect!" }, { shouldFocus: true });
});
};
baseurl is a const declared and the baseurl of endpoint is declared
axios makes a post call with data and if response if 200
- sets the state username and userLoggedIn values and navigates to dashboard url
if the response has error then it shows an error message Password is incorrect as shown below.
This section completes the implementation for Login call.
The code for this section can be obtained using following commit - https://github.com/svsrikanth2001/Dev_To_DevOps/commit/9b8ea7c751637b21c11dc97b296cea303ea73557